Step-by-Step: Setting Up a Robust Personal Cloud Storage System with 99.9% Uptime for 2026
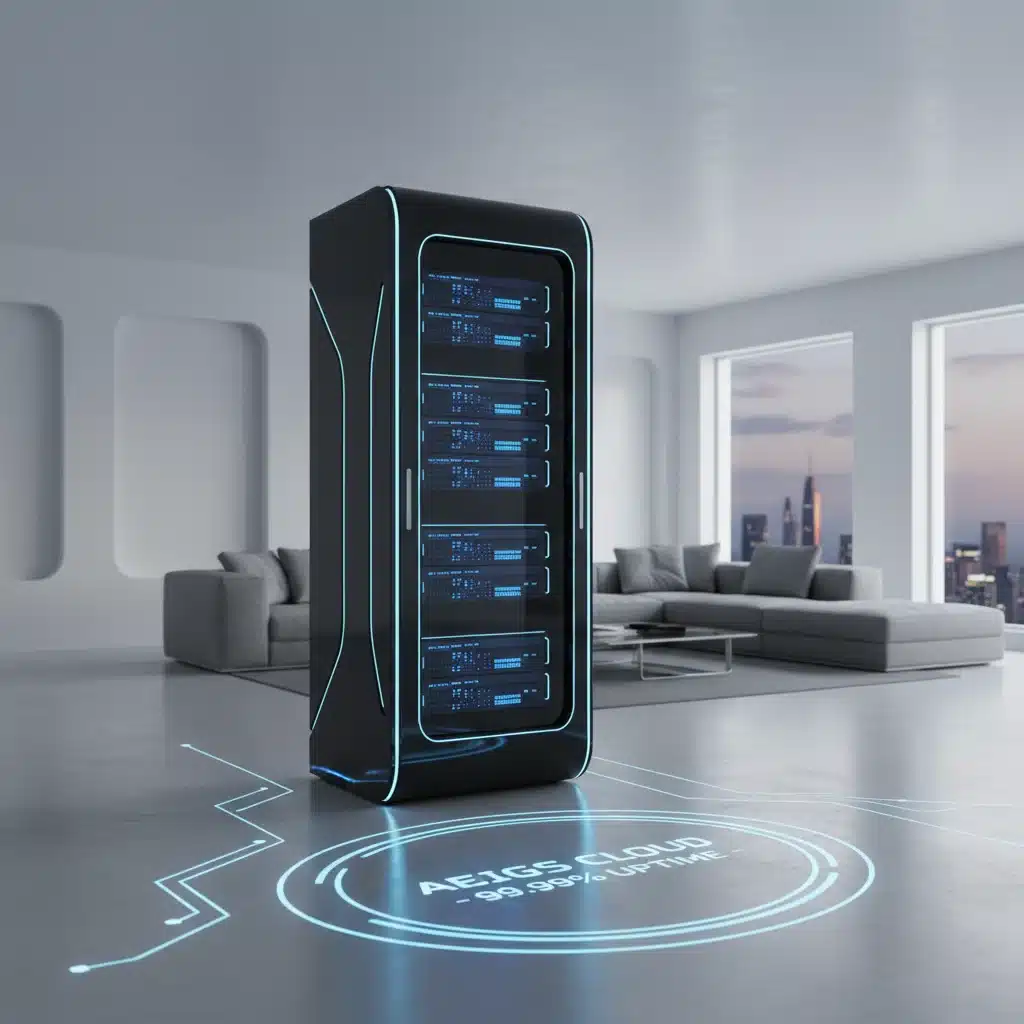
In an era where digital data is as valuable as physical assets, the need for secure, reliable, and accessible storage is paramount. While commercial cloud services offer convenience, they often come with privacy concerns, subscription fees, and a lack of ultimate control over your own data. This is where building your own personal cloud storage system comes into play. Imagine a private vault for all your photos, documents, videos, and backups, accessible from anywhere, with the peace of mind that comes from owning the infrastructure. This comprehensive guide will walk you through the process of setting up a robust personal cloud storage system designed for 99.9% uptime in 2026, ensuring your data is always available and under your control.
Why Build Your Own Personal Cloud Storage?
Before diving into the technicalities, let’s explore the compelling reasons to invest time and effort into creating your own personal cloud storage solution. The benefits extend far beyond mere file storage:
- Data Privacy and Security: Unlike public cloud services, your data resides on hardware you own and control. You dictate the security protocols, encryption methods, and access permissions, significantly reducing the risk of unauthorized access or data breaches from third parties.
- No Recurring Fees: After the initial investment in hardware and software, you eliminate monthly or annual subscription costs associated with commercial cloud providers. This can lead to substantial long-term savings, especially for large storage needs.
- Complete Control and Customization: You have full control over the storage capacity, performance, and features. Want to integrate specific backup solutions, media servers, or home automation? Your personal cloud can be tailored precisely to your needs.
- Faster Local Access: When accessing files from within your home network, your personal cloud storage will often offer significantly faster transfer speeds compared to downloading from an external cloud server, especially for large files.
- Long-Term Archiving: Ideal for archiving vast collections of photos, videos, and other digital memories without worrying about service changes or data migration challenges imposed by external providers.
- Learning Opportunity: Setting up and maintaining a home server is an excellent way to learn about networking, Linux, system administration, and data management, skills that are increasingly valuable in the digital age.
Understanding the Core Components of Personal Cloud Storage
A successful personal cloud storage system hinges on several key components working in harmony. Understanding each part is crucial for making informed decisions:
1. The Hardware: Your Server Foundation
The heart of your personal cloud storage is the server. You have several options, each with its pros and cons:
- Dedicated Network Attached Storage (NAS) Appliance: These are purpose-built devices from manufacturers like Synology, QNAP, or TrueNAS (formerly FreeNAS). They come with their own operating system, user-friendly interfaces, and often excellent support for RAID configurations, making them an ideal choice for beginners seeking a reliable, low-maintenance solution for their personal cloud storage. They are designed for 24/7 operation and typically have good power efficiency.
- DIY Mini PC/Old Computer: Repurposing an old desktop or building a small form-factor PC (like an Intel NUC or a custom mini-ITX build) offers maximum flexibility. You can choose your components, operating system, and software. This option provides more power and upgradeability but requires more technical know-how to configure and maintain. It’s a fantastic way to create a powerful personal cloud storage server.
- Raspberry Pi (and similar SBCs): For very basic needs or as a learning project, a Raspberry Pi can function as a minimal personal cloud storage server. However, its limited processing power and I/O speed make it less suitable for large-scale data transfer, multiple simultaneous users, or demanding applications. It’s best for light file sharing or as a backup target.
Key Hardware Considerations:
- Processor (CPU): For basic file serving, a low-power CPU is sufficient. If you plan to run media servers (e.g., Plex with transcoding), virtual machines, or other demanding applications, opt for a more powerful multi-core processor.
- RAM: 4GB is a good starting point for most NAS setups. If you’re running ZFS (which loves RAM) or multiple services, 8GB or more is recommended.
- Storage Drives: This is arguably the most critical component for your personal cloud storage.
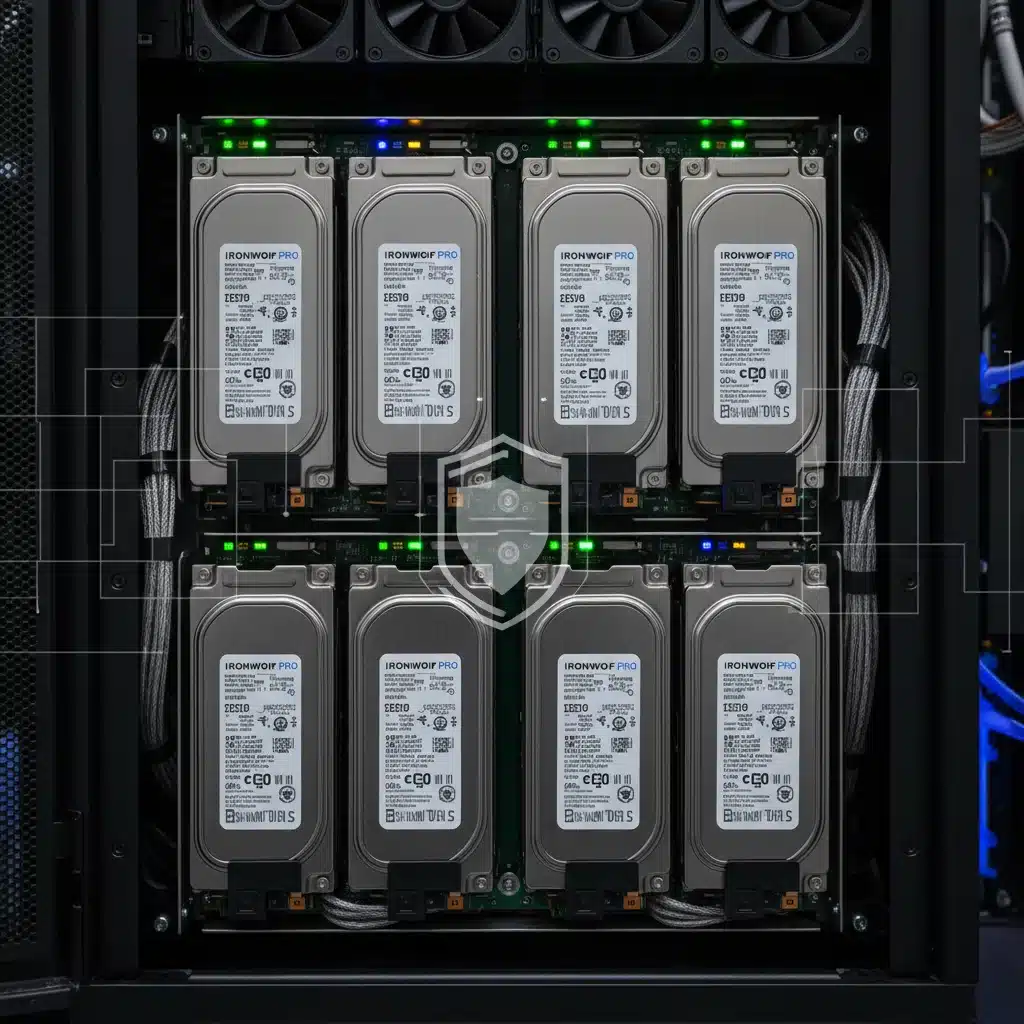
- HDD vs. SSD: For bulk storage, HDDs offer the best cost-per-gigabyte. Enterprise or NAS-specific HDDs (e.g., Western Digital Red, Seagate IronWolf) are designed for 24/7 operation and offer better reliability. SSDs are faster and more power-efficient but significantly more expensive for large capacities. They can be used for the operating system drive or as a cache.
- Capacity: Plan for future growth. It’s almost always cheaper to buy larger drives upfront than to upgrade later. Consider how much data you currently have and how much you anticipate generating over the next 3-5 years.
- Number of Bays: More drive bays allow for greater storage expansion and more robust RAID configurations.
- Network Interface Card (NIC): A Gigabit Ethernet port is essential. For higher performance, especially if you have multiple users or large file transfers, consider a 2.5GbE or even 10GbE NIC, provided your network infrastructure supports it.
- Power Supply Unit (PSU): Choose an efficient PSU (80 PLUS certification) to keep electricity costs down, especially for a system running 24/7.
2. The Software: Operating System and Cloud Solution
Once you have your hardware, you need the software to turn it into a functional personal cloud storage system:
- Operating System (OS):
- TrueNAS SCALE/CORE: A powerful, open-source NAS OS based on FreeBSD (CORE) or Debian Linux (SCALE). It’s renowned for its ZFS file system, which offers incredible data integrity, snapshots, and replication features. Ideal for advanced users building a DIY server.
- Unraid: A popular choice for DIY NAS builds, known for its flexibility in mixing drive sizes and excellent Docker container support. It’s not free but offers a one-time license fee.
- OpenMediaVault (OMV): A Debian-based open-source NAS solution that’s user-friendly and highly extensible with plugins. A great option for those who want a Linux-based DIY server without deep command-line expertise.
- Synology DSM/QNAP QTS: Proprietary operating systems that come pre-installed on their respective NAS appliances. They are highly polished, feature-rich, and easy to use, making them excellent for beginners.
- Standard Linux Distributions (Ubuntu Server, Debian): For experienced users, a minimal Linux distribution offers the ultimate control. You’ll install and configure all services manually.
- Cloud Software Layer: This is the application that provides the actual ‘cloud’ interface.
- Nextcloud: The undisputed champion of open-source personal cloud storage. It offers file syncing, sharing, collaboration tools, calendar, contacts, and a vast ecosystem of apps. It’s self-hostable and provides a full suite of features comparable to Google Drive or Microsoft 365.
- OwnCloud: Another open-source alternative to Nextcloud, though Nextcloud has largely surpassed it in feature development and community support.
- Plex/Jellyfin: While primarily media servers, they can also serve as a way to access your media files remotely, forming a specialized part of your personal cloud storage.
- SFTP/WebDAV: Basic protocols that allow remote file access but lack the rich features of Nextcloud.
Step-by-Step Setup Guide for Your Personal Cloud Storage
Phase 1: Hardware Assembly and Initial Setup
- Choose Your Hardware: Based on the considerations above, select your NAS appliance or components for your DIY server.
- Assemble the Hardware (DIY only): Install the CPU, RAM, motherboard, and storage drives. Ensure proper cable management for airflow.
- Install the Operating System:
- For NAS Appliances: Follow the manufacturer’s instructions to initialize the device. This usually involves connecting it to your network and accessing a web interface from your computer.
- For DIY Servers: Create a bootable USB drive with your chosen OS (TrueNAS, Unraid, OMV, Linux). Install the OS onto a dedicated boot drive (SSD or small HDD, not one of your main data drives).
- Basic Network Configuration: Assign a static IP address to your server within your local network. This makes it easier to consistently access your server and configure port forwarding later.
Phase 2: Storage Configuration and Data Redundancy
Achieving 99.9% uptime for your personal cloud storage heavily relies on robust data redundancy. This means protecting your data against single drive failures.
- Choose a RAID Level (or ZFS equivalent):
- RAID 1 (Mirroring): Requires at least two drives. Data is written identically to both drives. If one fails, the other has a complete copy. Good for smaller setups, but halves your usable storage capacity.
- RAID 5: Requires at least three drives. Data is striped across drives with parity information. Can withstand one drive failure. Offers a good balance of capacity and redundancy.
- RAID 6: Requires at least four drives. Similar to RAID 5 but with double parity, allowing it to withstand two drive failures. Higher data security, but slightly less usable capacity than RAID 5.
- RAID 10 (1+0): Requires at least four drives. Combines mirroring and striping. Excellent performance and can withstand multiple drive failures (as long as they are not in the same mirror set). Halves usable capacity.
- ZFS (RAIDZ1, RAIDZ2, RAIDZ3): If using TrueNAS, ZFS is a powerful file system that offers similar redundancy to RAID but with advanced features like checksumming for data integrity, snapshots, and self-healing. RAIDZ1 can handle one drive failure, RAIDZ2 two, and RAIDZ3 three.
- Create Storage Pools/Volumes: Configure your chosen RAID level or ZFS pool using the server’s OS interface. Format the storage to be accessible.
- Create Shares/Datasets: Define network shares (e.g., ‘Photos’, ‘Documents’, ‘Backups’) that will be accessible over your network. Set appropriate user permissions.
Phase 3: Installing and Configuring Cloud Software (Nextcloud Example)
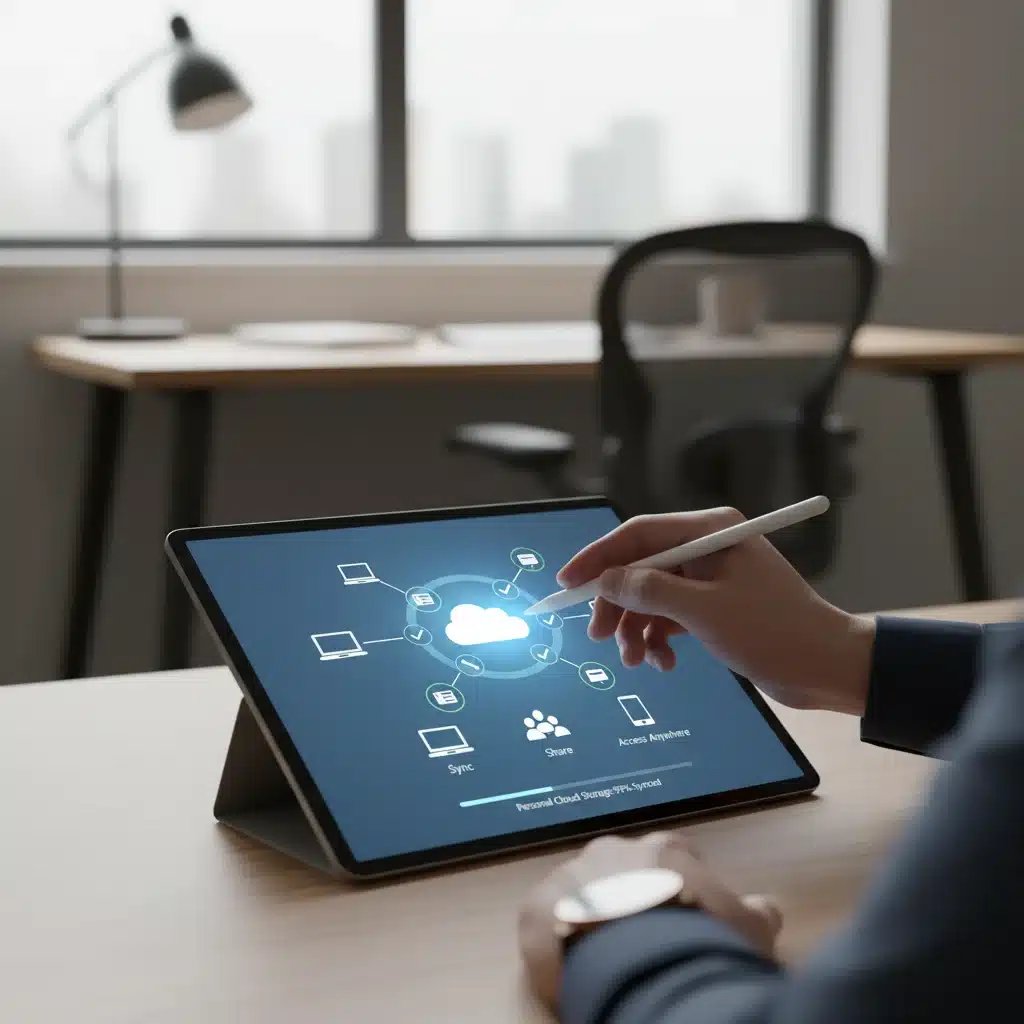
For this guide, we’ll focus on Nextcloud as it’s the most feature-rich open-source solution for personal cloud storage.
- Install Nextcloud:
- Docker: The recommended method for most DIY setups. Docker containers encapsulate Nextcloud and its dependencies, making installation and updates straightforward. Many NAS OSes (TrueNAS SCALE, Unraid, OMV) have excellent Docker support.
- Native Installation: Install Nextcloud directly onto your Linux server (requires a web server like Apache or Nginx, PHP, and a database like MySQL/MariaDB). More complex but offers fine-grained control.
- NAS Appliance Apps: Many commercial NAS devices offer Nextcloud as a one-click installable app from their respective app stores.
- Initial Nextcloud Configuration: Access Nextcloud via its web interface. Create an admin account and link it to your storage shares. Ensure data directory is correctly set to your large storage pool.
- Enable HTTPS: Critical for secure remote access. Obtain an SSL certificate (e.g., via Let’s Encrypt) and configure your web server (or Nextcloud’s built-in options) to use HTTPS.
Phase 4: Remote Access and Security for 99.9% Uptime
To truly have a personal cloud storage system, you need secure remote access. Achieving 99.9% uptime also means planning for external network reliability.
- Dynamic DNS (DDNS): Your home internet connection likely has a dynamic IP address that changes periodically. DDNS services (e.g., No-IP, DynDNS, or those offered by your router/NAS) map a static hostname (e.g.,
mycloud.ddns.net) to your dynamic IP, so you can always reach your home network. - Port Forwarding (Caution Advised): To access Nextcloud from outside your home network, you need to forward specific ports (typically 80 for HTTP and 443 for HTTPS) from your router to your server’s static internal IP address. This opens a potential security vulnerability if not done correctly. Only forward the absolute minimum required ports.
- Alternative: VPN (Recommended for Enhanced Security): Instead of direct port forwarding, set up a VPN server on your router or directly on your NAS. When you want to access your personal cloud storage remotely, connect to your home VPN. This encrypts all traffic and makes your server appear as if it’s on your local network, significantly enhancing security by not exposing ports directly to the internet.
- Firewall Configuration: Configure your server’s firewall (e.g., UFW on Linux) to only allow necessary incoming connections (e.g., SSH from local network, Nextcloud ports if directly exposed, VPN port).
- Strong Passwords and Two-Factor Authentication (2FA): Enforce strong, unique passwords for all server and Nextcloud accounts. Enable 2FA for Nextcloud and any other exposed services.
- Regular Software Updates: Keep your OS, Nextcloud, and all other software components updated to patch security vulnerabilities and ensure optimal performance for your personal cloud storage.
Phase 5: Data Backup and Uptime Strategies for 2026
Redundancy (RAID/ZFS) protects against drive failure, but not against accidental deletion, ransomware, or catastrophic events (fire, flood). True 99.9% uptime for your personal cloud storage requires a robust backup strategy.
- The 3-2-1 Backup Rule: This is the golden standard:
- 3 Copies of your data: The original on your server, plus two backups.
- 2 Different media types: E.g., internal hard drives and external USB drives, or internal drives and cloud backup.
- 1 Offsite copy: Stored physically away from your home (e.g., at a friend’s house, a safety deposit box) or in a secure, encrypted cloud backup service (e.g., Backblaze B2, Wasabi, Google Cloud Storage).
- Automated Backups: Implement automated backup routines using tools like rsync, BorgBackup, Duplicati, or built-in NAS backup features. Schedule them to run regularly (daily, weekly).
- Snapshots (ZFS/Btrfs): If your OS supports ZFS or Btrfs, utilize snapshots. These are point-in-time copies of your data that can be quickly restored, invaluable for recovering from accidental deletions or ransomware attacks.
- Uninterruptible Power Supply (UPS): A UPS provides temporary power to your server during outages, allowing it to shut down gracefully, preventing data corruption and extending its operational uptime. Essential for 99.9% availability.
- Monitoring: Set up monitoring for your server’s health (CPU temperature, disk health, network usage). Tools like Grafana, Prometheus, or built-in NAS dashboards can provide valuable insights.
- Redundant Internet Connection (Advanced): For truly critical uptime, consider a secondary internet connection (e.g., a 4G/5G modem failover) for your router. This is usually overkill for a home personal cloud storage but an option for extreme reliability.
Maintaining Your Personal Cloud Storage for Longevity
Building your personal cloud storage is just the first step. Ongoing maintenance is crucial for ensuring its long-term reliability and 99.9% uptime.
- Regular Updates: Keep your server’s operating system, Nextcloud, and all other software up-to-date. This includes security patches and feature improvements.
- Disk Health Checks: Periodically check the S.M.A.R.T. data of your hard drives. Many NAS OSes do this automatically and alert you to potential drive failures. Replace failing drives proactively.
- Test Backups: Don’t just assume your backups are working; periodically perform a test restore to ensure data integrity and that your recovery process is sound.
- Review Logs: Check server and application logs for any errors or warnings that might indicate underlying issues.
- Physical Cleaning: Dust can accumulate and cause overheating. Periodically clean your server’s fans and vents.
- Capacity Planning: Monitor your storage usage. When you approach capacity limits, plan for expansion well in advance.
Common Challenges and Troubleshooting Tips
Even with the best planning, you might encounter issues. Here are some common challenges and how to address them for your personal cloud storage:
- Slow Performance: Check network bottlenecks (Gigabit vs. 100Mbps), drive health, CPU/RAM utilization, and Nextcloud’s internal logging for warnings. Ensure your database is properly optimized.
- Remote Access Issues: Verify DDNS is updating correctly, check port forwarding rules on your router, ensure your firewall isn’t blocking connections, and test your VPN connection. Your ISP might be blocking certain ports (e.g., port 80/443 for residential connections, requiring a VPN or different ports).
- Data Corruption: This is where ZFS with its checksumming or regular snapshots truly shines. If using other file systems, rely heavily on your 3-2-1 backup strategy.
- Software Conflicts: If you’re running multiple services on the same server, conflicts can arise. Docker helps isolate applications, reducing this risk.
- Power Outages: A UPS is your best friend here. Ensure your server is configured for an automatic graceful shutdown when UPS battery is low.
The Future of Personal Cloud Storage: What to Expect in 2026 and Beyond
As we move into 2026, the landscape of personal cloud storage continues to evolve:
- Increased Automation: Expect more sophisticated automation tools for backups, updates, and system health monitoring.
- AI Integration: AI could play a role in intelligent data organization, deduplication, and even predictive maintenance for hardware.
- Easier Setup: While still somewhat technical, the barrier to entry for self-hosting is steadily decreasing with more user-friendly software and dedicated appliances.
- Enhanced Security Features: Expect even more robust encryption, multi-factor authentication methods, and intrusion detection systems to become standard.
- Decentralized Storage Options: While not strictly ‘personal cloud’ in the traditional sense, decentralized storage networks might offer new ways to store encrypted data without a single point of failure or control.
- Higher Bandwidth: Wider adoption of 2.5GbE and 10GbE networking in consumer hardware will make local and even remote access significantly faster, enhancing the personal cloud storage experience.
Conclusion: Empowering Your Digital Life with Personal Cloud Storage
Setting up your own personal cloud storage system with 99.9% uptime for 2026 is a rewarding endeavor that puts you firmly in control of your digital life. It’s an investment in privacy, security, and long-term data accessibility. While it requires an initial commitment of time and effort, the benefits of owning your data, free from recurring fees and third-party oversight, are invaluable. By carefully selecting your hardware, implementing robust software solutions like Nextcloud, prioritizing data redundancy and comprehensive backup strategies, and diligently maintaining your system, you can build a personal digital fortress that serves your needs for years to come. Embrace the power of self-hosting and take the definitive step towards true data sovereignty.