Master Factory Reset: Safely Erase Devices in 2026
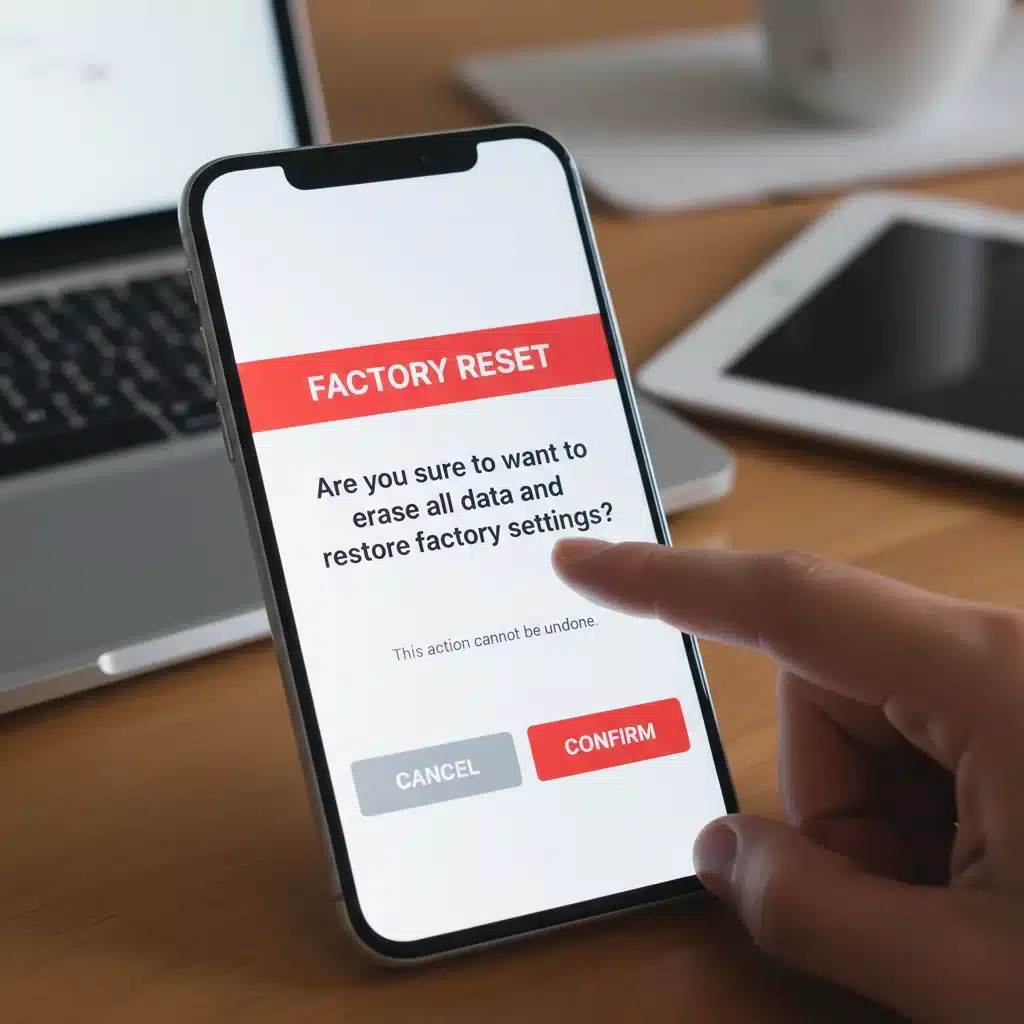
The 3 Best Ways to Factory Reset Any Device Safely in 2026
In our increasingly digital world, our devices hold a treasure trove of personal information. From banking details to cherished memories, our smartphones, laptops, and tablets are repositories of our lives. When it comes time to part with a device, sell it, or simply give it a fresh start, performing a factory reset safely is paramount. However, not all factory resets are created equal, and a superficial wipe might leave your sensitive data vulnerable. In 2026, with evolving data security threats, understanding the most effective and secure methods to factory reset your devices is more critical than ever.
This comprehensive guide will walk you through the three best ways to factory reset safely any device, ensuring your personal information is completely eradicated and your device is ready for its next chapter, whether that’s a new owner or simply a performance boost. We’ll cover everything from crucial preliminary steps to device-specific instructions and post-reset verification. Let’s dive in and master the art of the secure factory reset.
Why Factory Reset Safely Matters: Beyond the Obvious
Before we delve into the ‘how-to,’ it’s vital to understand the ‘why.’ A factory reset, at its core, restores a device to its original manufacturer settings. This means all user data, installed applications, and customized settings are erased. The reasons for performing a factory reset are numerous:
- Selling or Donating Your Device: This is perhaps the most common reason. You wouldn’t hand over your diary to a stranger, so why would you hand over a device brimming with your digital life? A proper factory reset safely ensures your personal information, photos, messages, and accounts are not accessible to the next owner.
- Improving Performance: Over time, devices can accumulate bloatware, fragmented files, and corrupted data, leading to sluggish performance, frequent crashes, and reduced battery life. A factory reset can often breathe new life into an aging device, restoring its speed and responsiveness.
- Troubleshooting Persistent Issues: If your device is experiencing recurring software glitches, freezes, or other inexplicable problems that cannot be resolved through simpler troubleshooting steps, a factory reset can often be the nuclear option that resolves the issue by eliminating any corrupted software or settings.
- Removing Malware or Viruses: In severe cases of malware infection that cannot be cleaned by antivirus software, a factory reset can be an effective way to completely wipe the system and remove the malicious software.
- Privacy Concerns: Even if you’re not selling the device, you might want to periodically wipe it clean for enhanced privacy, especially if it’s been used by multiple people or in public settings.
The term ‘safely’ is crucial here. A standard factory reset might not always completely erase all data, making it potentially recoverable with specialized tools. Our goal is to ensure data is not just deleted, but truly unrecoverable, especially when dealing with sensitive information. Performing a factory reset safely means taking extra precautions to safeguard your digital footprint.
Preliminary Steps: The Foundation of a Safe Factory Reset
Regardless of the device or the method you choose, certain preliminary steps are non-negotiable for a truly safe factory reset. Skipping these could lead to data loss or privacy breaches. These steps form the bedrock of performing a factory reset safely.
1. Back Up Everything That Matters
This is arguably the most critical step. Once a factory reset is initiated, all data on the device will be irrevocably lost. Therefore, it is imperative to back up any photos, videos, documents, contacts, messages, app data, and other files you wish to keep. Consider multiple backup methods:
- Cloud Storage: Services like Google Drive, iCloud, Dropbox, and OneDrive offer convenient ways to back up photos, documents, and even app data. Ensure your sync settings are active and verify that all important files have successfully uploaded.
- External Hard Drives/USB Drives: For larger files or complete system backups, an external hard drive is an excellent option. Connect your device to your computer and manually transfer files, or use dedicated backup software.
- Manufacturer-Specific Backup Solutions: Apple’s iTunes/Finder for iOS devices, Samsung Smart Switch for Galaxy phones, or Windows’ built-in backup and restore features are designed to create comprehensive backups.
- Exporting Contacts and Calendars: While often synced to cloud accounts, it’s good practice to export contacts as a VCF file and calendar entries as ICS files for an additional local backup.
Double-check your backups! After performing the backup, try to access some of the backed-up files from another device or computer to ensure they are intact and readable. This verification step is vital for a successful factory reset safely.

2. Decrypt Your Device (If Applicable)
Some devices, especially Android smartphones and laptops, offer full disk encryption. While encryption is excellent for security, it can sometimes interfere with a clean factory reset, potentially leaving encrypted remnants or making the wipe less thorough. If your device is encrypted, it’s often recommended to decrypt it first, then perform the factory reset. Consult your device’s manual for specific instructions on decryption. This step is crucial for ensuring you factory reset safely and completely.
3. Remove All Accounts and Sign Out
Before initiating the reset, you must remove all associated accounts. This includes:
- Google Accounts (Android): Go to Settings > Accounts > Google, select your account, and tap ‘Remove account.’ Repeat for all Google accounts.
- Apple ID/iCloud (iOS/macOS): For iOS, go to Settings > [Your Name] > Sign Out. For macOS, go to System Settings > [Your Name] > Sign Out. This is critical for disabling ‘Find My’ and Activation Lock, which can prevent a new owner from using the device.
- Microsoft Accounts (Windows): Go to Settings > Accounts > Your info, and choose to ‘Sign in with a local account instead.’ Then remove your Microsoft account.
- Other Accounts: Sign out of social media, email, banking apps, and any other services. While a factory reset will technically remove these, manually signing out adds an extra layer of security and ensures no lingering session tokens remain.
Removing accounts prevents the device from being linked to your identity after the reset, making the process of how to factory reset safely much more effective.
4. Remove SIM Cards and SD Cards
If your device has a physical SIM card or an external SD card, remove them before the reset. These cards often contain personal data (contacts on SIM, photos/documents on SD) that will not be erased by a factory reset of the device’s internal storage.
5. Charge Your Device
Ensure your device has sufficient battery charge, preferably above 50%, or keep it plugged in during the entire reset process. A power interruption during a factory reset can corrupt the operating system, potentially bricking the device.
Method 1: The Standard In-Device Factory Reset (Good for Performance & Basic Privacy)
This is the most common and straightforward method, accessible directly through your device’s settings. It’s excellent for improving performance and for personal use where extreme data forensics are not a concern. However, for selling a device, you might want to consider Method 2 or 3 for enhanced data security.
For Smartphones & Tablets (iOS & Android)
iOS Devices (iPhone, iPad):
- Go to Settings.
- Tap General.
- Scroll down and tap Transfer or Reset iPhone/iPad.
- Tap Erase All Content and Settings.
- You may be prompted to enter your passcode or Apple ID password.
- Confirm the erase. The device will restart and display the Apple logo, then proceed with the wipe. This process typically takes several minutes.
Apple’s ‘Erase All Content and Settings’ is generally considered robust for consumer-level data erasure, as it also disables Activation Lock and removes the device from your Apple ID. This is a key part of how to factory reset safely for Apple users.
Android Devices:
- Go to Settings.
- Search for ‘reset’ or navigate to System > Reset options (the exact path may vary slightly depending on your Android version and device manufacturer, e.g., Samsung uses ‘General management > Reset’).
- Tap Erase all data (factory reset).
- You will see a warning about what will be erased. Read it carefully.
- Tap Erase all data or Reset phone/tablet.
- Enter your PIN, pattern, or password if prompted.
- Confirm the action. The device will restart and begin the wiping process.
Most modern Android devices include a ‘factory reset protection’ feature, which links the device to your Google account. Ensure you have removed your Google account (as per preliminary steps) to avoid locking the device for the next owner. This ensures you factory reset safely and avoid future complications.
For Computers (Windows & macOS)
Windows PCs:
- Go to Settings (Windows Key + I).
- Click System, then select Recovery from the left-hand menu.
- Under ‘Recovery options,’ click Get started next to ‘Reset this PC.’
- You will have two options:
- Keep my files: This reinstalls Windows but keeps your personal files. Not a full factory reset.
- Remove everything: This option removes all personal files, apps, and settings. This is what you want for a factory reset.
- Choose Remove everything.
- Next, you’ll be asked how you want to reinstall Windows:
- Cloud download: Downloads a fresh copy of Windows from Microsoft.
- Local reinstall: Uses files on your device to reinstall Windows.
- Then, you’ll be asked if you want to ‘Clean the drives fully.’ Choose Yes or Remove files and clean the drive for a more secure wipe. This option will take significantly longer but is essential for ensuring you factory reset safely.
- Click Reset to begin.
macOS Computers:
The process for macOS depends on whether your Mac has an Apple Silicon chip or an Intel processor.
For Macs with Apple Silicon (M1, M2, etc.):
- Shut down your Mac.
- Press and hold the power button until ‘Loading startup options’ appears.
- Click Options, then click Continue.
- If prompted, select a user whose password you know, then enter their administrator password.
- From the macOS Recovery app, choose Erase Mac.
- Confirm the erase.
- Follow the on-screen instructions to reinstall macOS.
For Macs with Intel Processor:
- Restart your Mac and immediately press and hold Command (⌘) + R until you see the Apple logo or a spinning globe.
- If prompted, select a user whose password you know, then enter their administrator password.
- From the Utilities window, select Disk Utility and click Continue.
- In Disk Utility, select your main startup disk (usually ‘Macintosh HD’) from the sidebar.
- Click Erase in the toolbar.
- For ‘Format,’ choose APFS. For ‘Scheme,’ choose GUID Partition Map.
- Click Erase Volume Group or Erase.
- After erasing, quit Disk Utility and select Reinstall macOS from the Utilities window.
For both Apple Silicon and Intel Macs, remember to sign out of your Apple ID, iCloud, and other services before starting the reset process. This is a critical step to ensure you factory reset safely and prevent activation lock issues.
Method 2: Using Manufacturer/Third-Party Tools for Enhanced Data Erasure (Better for Resale)
While the standard in-device factory reset is sufficient for many, when selling a device, you might want to ensure data is truly unrecoverable. This is where manufacturer-provided tools or reputable third-party data erasure software come into play. These tools often employ more advanced wiping algorithms, overwriting the data multiple times to make forensic recovery extremely difficult.
For Mobile Devices:
Many Android manufacturers offer companion desktop software that can perform a more thorough wipe than the on-device reset. For example:
- Samsung Smart Switch: While primarily a backup tool, it can sometimes facilitate a more thorough reset or firmware reinstallation which effectively wipes the device.
- Other Android OEM Tools: Check your device manufacturer’s website for any specific PC software designed for device management and factory resets.
For iOS devices, restoring through iTunes/Finder on a computer by selecting ‘Restore iPhone/iPad’ will download and install a fresh copy of iOS, effectively wiping the device. This is generally considered a secure method for iOS. To factory reset safely using this method, ensure you use a trusted computer.
For Computers (Windows & macOS):
This is where specialized tools shine. They go beyond the basic ‘Remove everything’ option in Windows or Disk Utility in macOS by employing data sanitization standards.
- Windows: While Windows’ ‘Remove files and clean the drive’ is good, for maximum security, consider using tools that implement standards like DoD 5220.22-M. Some popular options include:
- DBAN (Darik’s Boot and Nuke): A free, open-source tool that can securely erase hard drives. You’ll need to create a bootable USB drive or CD. It’s highly effective but requires a bit more technical know-how.
- Manufacturer’s Recovery Tools: Many PC manufacturers (Dell, HP, Lenovo) provide their own recovery partitions or tools that can perform a ‘factory image restore’ or a more secure wipe option. Consult your PC’s manual or support website.
- macOS: While Disk Utility’s erase function is good, for very sensitive data on older drives (SSDs handle erasure differently), you might consider using the ‘Security Options’ within Disk Utility (available on older macOS versions or for spinning hard drives). These options allow you to choose how many times to overwrite the data. For modern SSDs, a standard erase is generally sufficient due to how SSDs manage data.
When using third-party tools, always download them from reputable sources to avoid introducing malware. The goal is to factory reset safely, not to compromise your system further.
Method 3: Physical Destruction (The Ultimate Secure Erase)
For individuals or organizations dealing with extremely sensitive data, or for drives that are no longer functional but contain critical information, physical destruction is the only foolproof method to ensure data is absolutely unrecoverable. This method bypasses any software limitations and guarantees that no one will ever access the data again.
When to Consider Physical Destruction:
- Highly Sensitive Data: If the drive contained classified information, medical records, financial data, or trade secrets.
- Non-Functional Devices: If a device is broken beyond repair and cannot be wiped via software, but the storage medium is still intact.
- Compliance Requirements: Certain industries or regulations may mandate physical destruction for data disposal.
Methods of Physical Destruction:
- Shredding: Industrial shredders can pulverize hard drives (HDDs and SSDs) into tiny fragments, making data recovery impossible. This is common for corporate data disposal.
- Degaussing: For traditional HDDs (not SSDs), degaussing uses a powerful magnetic field to scramble the data on the platters, rendering it unreadable. This method is ineffective for SSDs, which store data differently.
- Drilling/Hammering: A more DIY approach, drilling multiple holes through the platters of an HDD or thoroughly smashing the NAND chips on an SSD with a hammer can destroy the data storage components. Ensure you wear safety glasses and take appropriate precautions. Aim for the central platters of an HDD and the main chips on an SSD.
- Incineration: Burning devices at extremely high temperatures can also destroy data, though this is usually reserved for very specific industrial applications due to environmental concerns.
While physical destruction guarantees a factory reset safely in the most extreme sense, it’s a last resort as it renders the device unusable. Always consider the value of the device versus the sensitivity of the data before opting for this method.

Post-Reset Verification and Best Practices
Once you’ve performed a factory reset, especially if you’re selling the device, it’s wise to take a few extra steps to ensure everything went smoothly and your data is truly gone.
1. Power On and Check
After the reset, power on the device. It should boot up to the initial setup screen, just as it would out of the box. This is a good indicator that the reset was successful. If it boots directly to a user login or your home screen, the reset failed.
2. Fill with Dummy Data (Optional, for HDDs)
For traditional hard drives (HDDs), if you’re particularly paranoid, you can fill the drive with unimportant ‘dummy’ data (e.g., large video files, random text files) after the initial reset, and then perform another factory reset. This overwrites any potentially recoverable fragments of your old data with new, meaningless data, making it even harder to recover. This technique is less effective for SSDs due to how they manage data (wear leveling). This is an advanced step for those who truly want to factory reset safely with maximum assurance.
3. Remove Physical Identifiers
If selling, remove any physical identifiers like SIM card trays with your name, custom skins, or protective cases that might contain personal information or residue.
4. Provide Accessories
If you’re selling the device, include all original accessories like chargers, cables, and manuals. This adds value and completes the package.
Understanding Data Erasure on SSDs vs. HDDs
It’s important to note that the way data is erased differs significantly between traditional Hard Disk Drives (HDDs) and Solid State Drives (SSDs). This difference impacts how thoroughly a factory reset safely performs.
- HDDs: Data is stored magnetically on spinning platters. When you ‘delete’ a file or perform a factory reset, the operating system simply marks the space as available, but the magnetic data remains until it’s overwritten. This is why multiple overwrites (like those performed by DBAN or secure erase options) are effective for HDDs.
- SSDs: Data is stored on NAND flash memory chips. Due to wear leveling and how SSDs manage blocks of data, simply overwriting data multiple times isn’t as effective. SSDs have a built-in ‘TRIM’ command and often a ‘Secure Erase’ command (often accessible via BIOS/UEFI or specialized manufacturer tools). A proper ‘Secure Erase’ command tells the SSD’s controller to internally wipe all data blocks, which is generally considered very secure for SSDs. A standard factory reset on an operating system that supports TRIM will usually trigger this secure erase process for the SSD.
Therefore, for modern devices primarily using SSDs, ensuring the operating system’s factory reset properly triggers the SSD’s secure erase function is key to how to factory reset safely.
Common Pitfalls to Avoid
To truly factory reset safely, be aware of these common mistakes:
- Forgetting to Back Up: The most common and devastating mistake. Always, always back up.
- Not Removing Accounts: Especially Apple ID (Activation Lock) and Google Accounts (Factory Reset Protection). This can render the device unusable for the next owner.
- Interrupting the Process: Never power off or disconnect a device during a factory reset. This can corrupt the operating system.
- Assuming Data is Gone: A quick format or simple delete command does not securely erase data, especially on HDDs.
- Using Unverified Tools: Only use reputable software or manufacturer-provided tools for data erasure.
Conclusion: Empowering You to Factory Reset Safely
Performing a factory reset safely is a fundamental skill in our digital age. Whether you’re upgrading to the latest gadget, troubleshooting a stubborn software issue, or simply giving your device a clean slate, understanding the proper procedures is essential for data security and peace of mind. By diligently following the preliminary steps, choosing the appropriate reset method for your device and security needs, and verifying the process, you can ensure your personal information remains private and your device is ready for its next adventure.
Remember, your digital footprint is valuable. Don’t let it fall into the wrong hands. By mastering these three best ways to factory reset any device safely in 2026, you’re not just wiping data; you’re safeguarding your privacy and extending the lifecycle of your technology responsibly. Stay informed, stay secure!